Since seeing the Captain Marvel trailer months ago, my girls have been excited to see the movie that just came out. They love superheroes and were glad that there was going to be a female lead hero in the Marvel universe. What better way to show their excitement by having a new t-shirt!
This post contains affiliate links. I will receive a small portion of any sale in exchange for advertising these products.
I'm surprising my kids with a trip to Disneyland and we leave tomorrow! I'm giving them their shirts to wear at the park. They are more interested in the Disney-Marvel superheroes instead of Disney Princesses now, so I know they will love these shirts.
For tips on what to buy before a Disney trip to save on expenses see my post here. If you want to save on tickets and hotels, check out Get Away Today for awesome deals!
Make Your Own Captain Marvel T-shirt
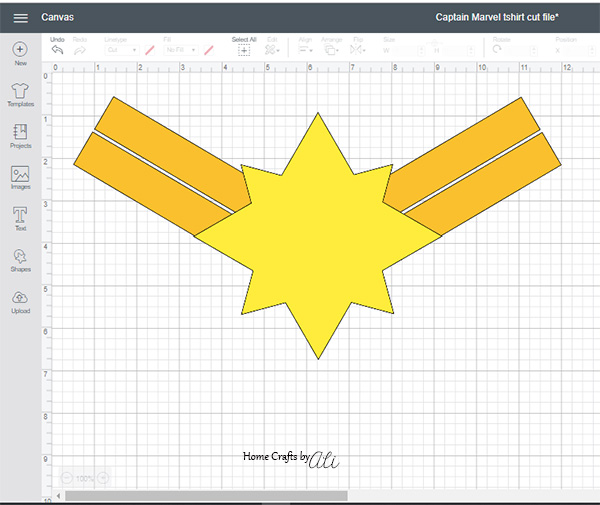
When planning this t-shirt, I knew that I wanted to use some fun fabric paint. The easiest way to make sure the shirt looks how I wanted was to create a cut file using Cricut Design Space.
I'm really excited to share with you the tutorial for making a fun t-shirt for you newest favorite superhero. While there are quite a few steps in the tutorial, it really is a quick project and not too complicated. With stopping to photograph the steps and the nice use of a hair dryer, I was able to make this shirt in half an hour.
Supplies Needed to DIY a Captain Marvel Shirt
Cricut Machine
Cutting Mat
Cutting Mat
Vinyl (you could also use strong contact paper)
Transfer Tape
Fabric Paint ( I used Tulip brand in Yellow, Gold, and Red)
Sponge Brush
Hair Dryer (optional)
Captain Marvel Stencil cut file
Piece of Cardboard
Piece of Cardboard
DIY Captain Marvel Painted Tee Tutorial
1. You will start by opening Cricut Design Space and using my cut file to make your own project. When you click the "Make It" button, it will bring you to the screen where you prepare you mat. You will use one sheet of 12x12 vinyl and the project will be on one mat.
2. Set your Cricut machine to "vinyl" and cut the file.
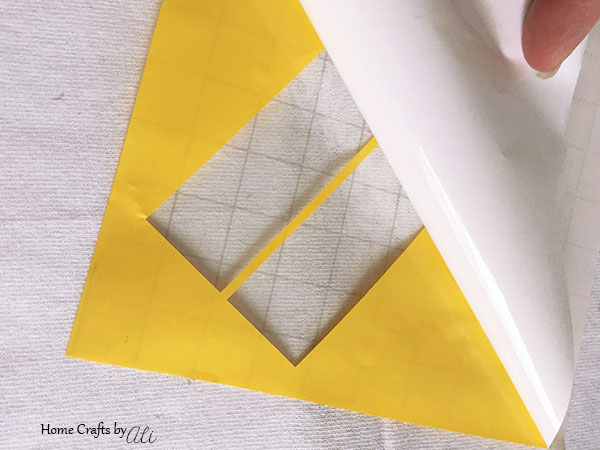
3. Cut the sheet of vinyl in half so the star is on the bottom and the rectangles are on the top. Weed the vinyl - for this paint stencil you will remove the star and the rectangles that were cut.
4. Put a piece of transfer tape over the cut vinyl area of the star as well as over the rectangle stripes. Press firmly - especially where the cut out parts of the vinyl are. Peel the backing off of the vinyl pieces.
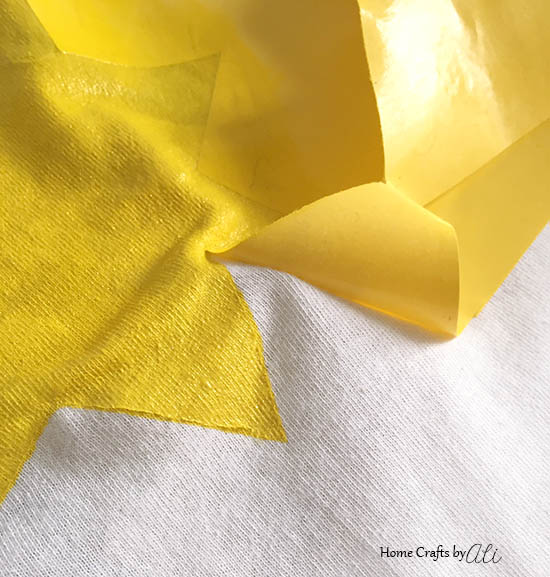
5. Center the star where you want it on your shirt. Press the vinyl firmly onto the fabric, making extra sure that the edges are adhered to the fabric well so there is no seepage of paint under your stencil. Remove the transfer paper from the front of the stencil.
6. Place your piece of cardboard inside the tshirt underneath where you are going to paint. You don't want paint to go to the back of the shirt and a piece of cardboard will protect the fabric on the back of the shirt from paint.
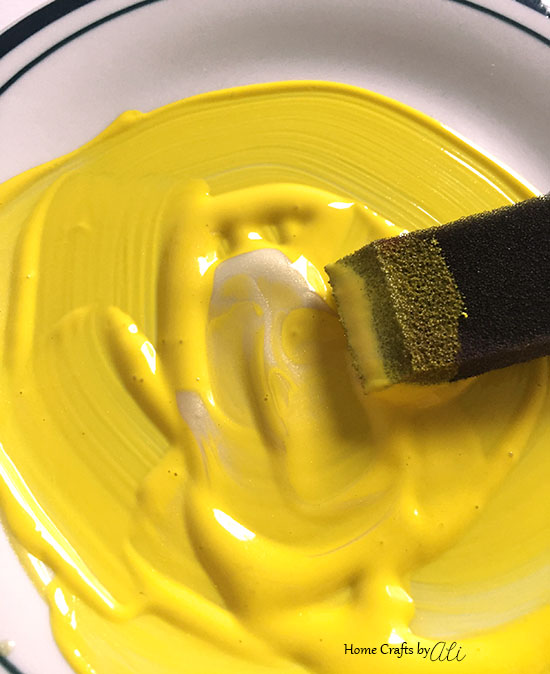
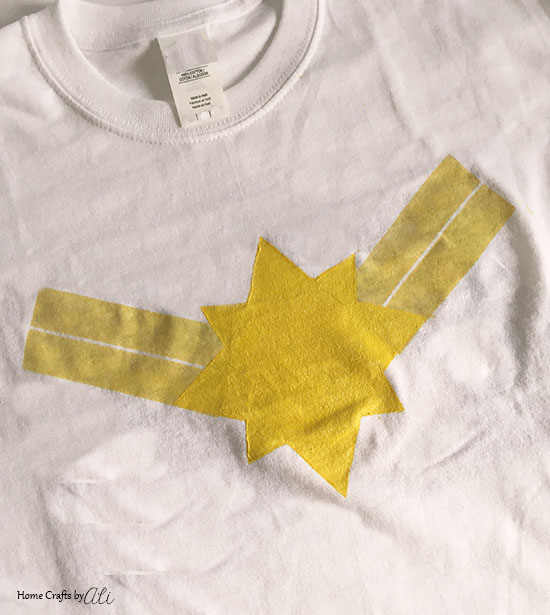
7. Paint - For the star, I made a mixture of mostly yellow with just a touch of gold to add a bit of sparkle. For the stripes, I used mostly gold with a bit of yellow added.
8. Using the sponge brush, paint with a blotting motion. When painting a stencil, you want to work from the edges of the vinyl toward the middle. If you go from the center towards the stencil edge, you can get paint underneath and it will ruin the look of your logo.
9. Wait 30 minutes or more for each layer of paint to dry. I used my hair dryer to speed up the process and it dried quicker (about 5 minutes). I painted three layers of the yellow star.
10. Remove the vinyl stencil of the star. Line up the stencil of the rectangle stripes so they fit next to the star how it looks in the image above of the logo I created in Cricut Design Space. The rectangles will overlap part of the star.
11. Paint the stripes using the vinyl stencil. Paint using the gold paint up to the edge of the star.
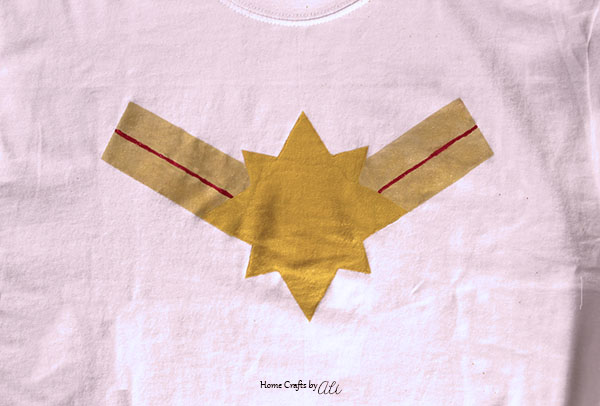
This can be the last step of your new Captain Marvel t-shirt, or you can use a fine tip paintbrush and add a red/gold mixture line between the thick gold stripes.
I added the red stripe on the logo because on Captain Marvel's uniform, she has a slight red stripe. Either way you decide to paint your shirt, you will have a cute shirt to wear!
While this tutorial is for the t-shirt that I made, you can use this logo to paint on a bag, jean jacket, or any fabric item. I would love to see what you create with this logo, so tag me if you post on social media:
Instagram - @homecraftsbyali
Facebook - Home Crafts by Ali




0 comments