A few months ago I hosted a baby shower for my friend Laura from the blog Watts + Walsh. I wanted to make a few cute items to use as decorations at the shower. A few years ago I found little blocks at a thrift store, but they weren't very cute. I decided that a quick crafty makeover was called for.
I love visiting the local thrift stores to see what treasures I can find. Sometimes I find a wood piece that needs some cute paint or a bright canvas that could use a makeover. That's the fun of thrift stores and yard sales, you never know what piece you will find that could do with a little crafty magic to transform it into something perfect for your home.
I'm joining some of my favorite bloggers for a Thrift Store Decor Upcycle Challenge. We all created thrifty upcycle projects to give you ideas of what you can create from thrift store items. So the next time you see a canvas, picture frame, basket, or other item at the thrift store or a garage sale, you will have some ideas of what you can remake them into.
The Rules:
- Upcycle an item(s) from a thrift store, resale store, or garage sale into a new piece of decor.
- There's no monthly theme.
- There's no budget to stick to.
Meet the Hosts
Angela | Simply Beautiful by Angela
Jennifer | Cookies Coffee and Crafts - Marie | The Inspiration Vault
Debra | Shoppe No. 5 - Michelle | Our Crafty Mom
Habiba | Craftify My Love - Ali | Home Crafts By Ali
Jeanie | Create and Babble
Jennifer | Cookies Coffee and Crafts - Marie | The Inspiration Vault
Debra | Shoppe No. 5 - Michelle | Our Crafty Mom
Habiba | Craftify My Love - Ali | Home Crafts By Ali
Jeanie | Create and Babble
Make sure you follow our board on Pinterest for more upcycled decor inspiration!
Check out all the projects after my step-by-step tutorial!
Check out all the projects after my step-by-step tutorial!
Quick, Cute, and Easy Wood Baby Blocks
Little blocks look so cute on shelves in baby's room. They are so easy to make and it takes less than half an hour to make ones that are just to your liking! Get your favorite decorative papers, wood blocks, and a few craft supplies and get crafting!
Supplies to DIY Wood Blocks
This post contains affiliate links (*) to make shopping for supplies easier for you
- Wood Blocks*
- Sandpaper
- Paint and Paintbrush (Plaid Crafts Apple Barrel White is my paint of choice)
- Scrapbook Papers of your choosing
- Cricut Machine* or Paper Trimmer*
- Mod Podge* or other craft glue
- Sponge Brush
Step-by-Step Tutorial to Decopage Wood Blocks
1. Gently sand the wood blocks. Wipe clean with a cloth.
2. Paint your blocks. This will create a good surface for your paper to adhere to.
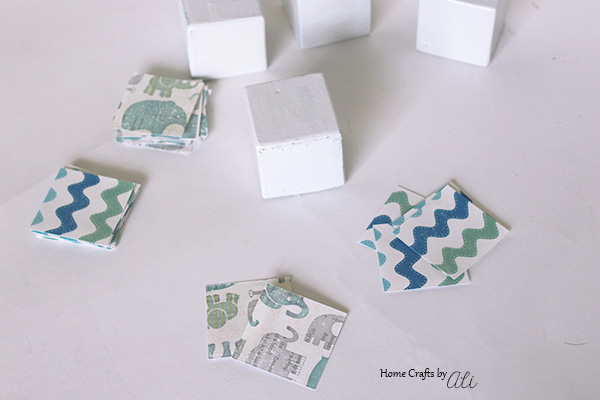
3. Cut your paper into squares that will fit to the sides of your wood blocks. I used my Cricut machine to cut the squares. It took about 2 minutes to set up the cut file, then about 20 seconds to have the machine cut them. So much easier than using a paper trimmer!!
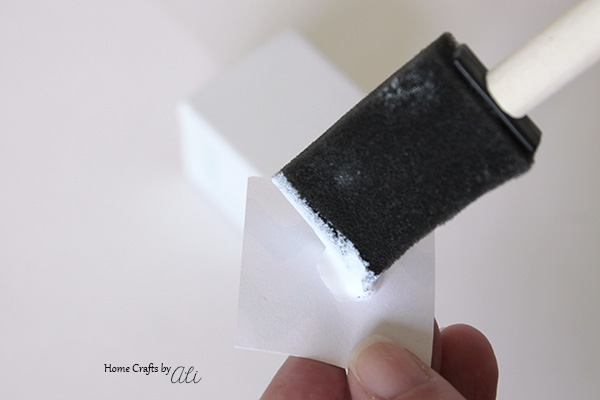
4. Apply a thin layer of Mod Podge (or other adhesive) to the back of your square pieces. If you use too much of the glue, it will cause the paper to rip.
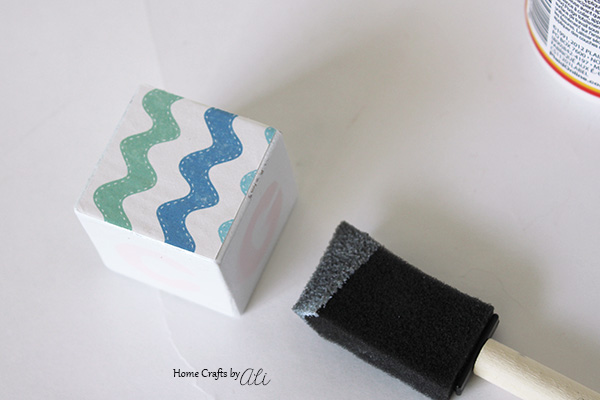
5. Arrange the paper pieces on the sides of your block however you would like. This is where your fun and creativeness comes in!
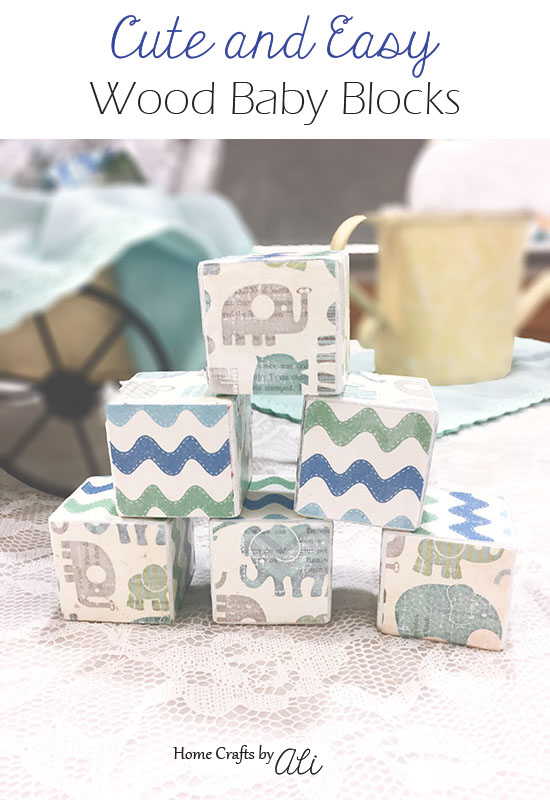
There you go! Cute and easy blocks for your baby's room or you can give them as a gift! A personalized decor piece that takes no time at all!


Those turned out super cute! I love the colors that you picked :)
ReplyDeleteThe blocks are so adorable and will make a nice vignette in the baby's room.
ReplyDeleteAli, These are so very cute! I liked the original design of them, too. But the soft pastels you chose are very neat and will fit almost every nursery. Pinning this for future reference.
ReplyDelete