The best part to making your own bookmark is you get to choose the design of the fabric used. Pick your favorite color, pattern, or theme.
These bookmarks are so quick to sew. After trying out the tutorial the first time, you will then be able to sew one of these fabric bookmarks in about 5 minutes! This craft is an easy one, perfect for a beginner at sewing.
Since this is such a fast project to sew, you can make a bunch quick and easy. Have a few in your stash for if you have multiple books you are enjoying at one time. Or make one for each member of your book club! Your book loving friends will love a special made bookmark as a gift.
** This post contains affiliate links. I will receive a small portion in exchange for advertising these products I use and love. **
Quick and Easy Fabric Bookmarks
Supplies To Make Fabric Bookmark
Fabric - 3 inches wide is all you need
Fusible Fleece interfacing - 3 inches wide
Cutting Mat
Clear Acrylic Ruler
Iron
Thread
Sewing Machine
Ribbon
I tried making two different sizes of bookmarks and ended up liking the skinny one the best. This tutorial will make one bookmark 2.5 inch by 6.5 inch. If you like the way the wider one looks, add 1/2 an inch to the width and keep the length the same.
Tutorial To Make Fabric Bookmark
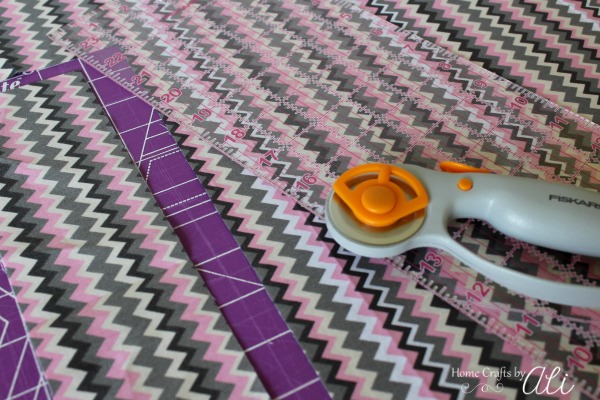
1. First you will cut your fabric. You will need two pieces of fabric 3 inches x 7 inches. You can use the same fabric for the front and back, or you can use two different fabrics. For mine, I used one fabric.
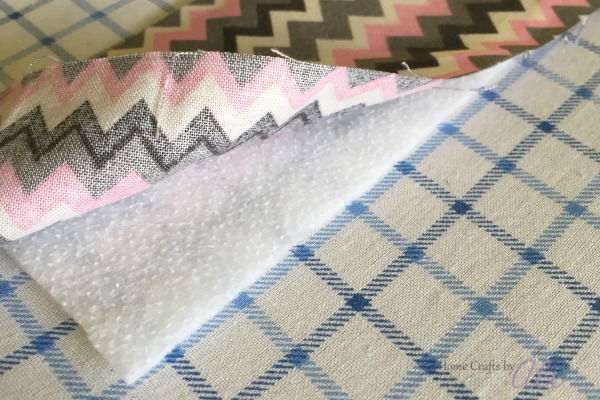
2. Cut your piece of fusible fleece interfacing to be slightly smaller than your fabric. Mine ended up being 2.5 inch x 6.5 inch.
3. Place your interfacing with the bumpy side up on your ironing surface. Center one fabric on top of the interfacing with the pattern facing up. Heat your iron to the wool setting and iron the fabric (do not place iron on interfacing) for about 10 - 15 seconds.
4. Layer the backing fabric so both of the pattern sides face out. You can pin your layers together if that is easiest for you, or just hold the layers together if you have sure hands.
5. Sew a 1/4 inch seam around each edge of the bookmark.
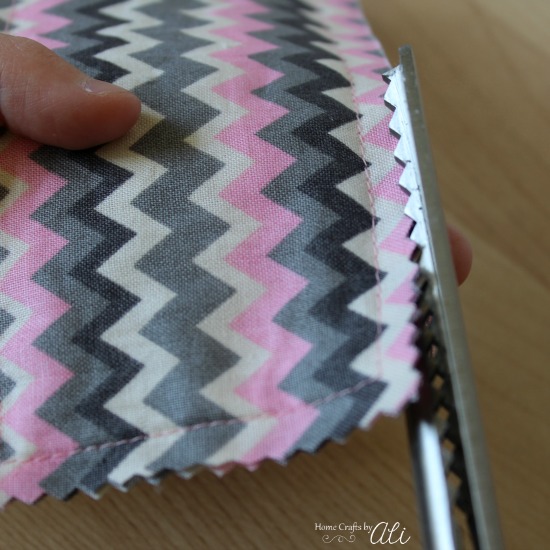
6. Using your pinking shears, trim each edge of the bookmark.
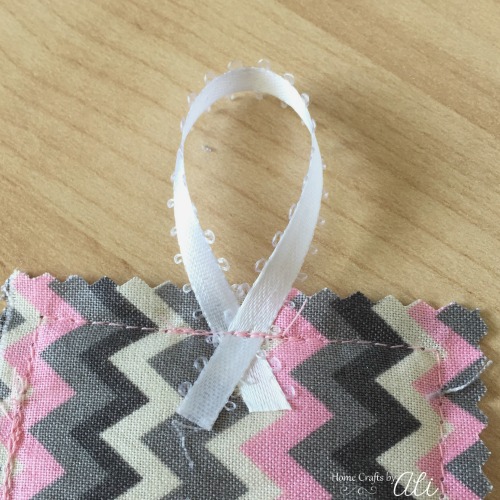
7. Cut a 3 inch length of ribbon. Fold into a loop on the back side of your bookmark and stitch the ribbon into place.
That's it! You now have a bookmark ready to use in your favorite book or to give as a gift.
What is your go-to craft to have on hand as a quick gift?


0 comments