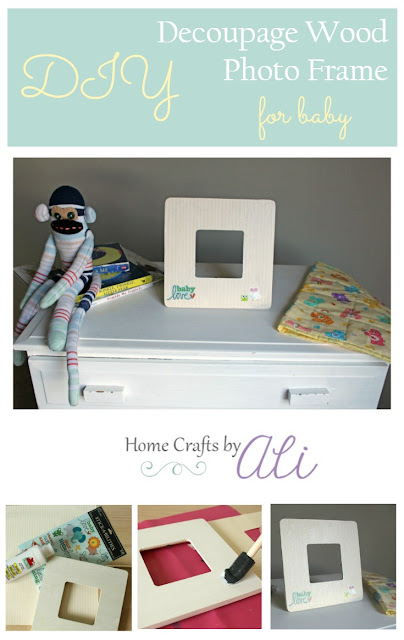
Do you have a sweet little one that you want to display a picture of in a cute way? Follow the directions in this simple tutorial to make your own decorated wood frame. Perfect for your own little one, or to give as a gift to your friend or family member who is expecting a sweet baby.
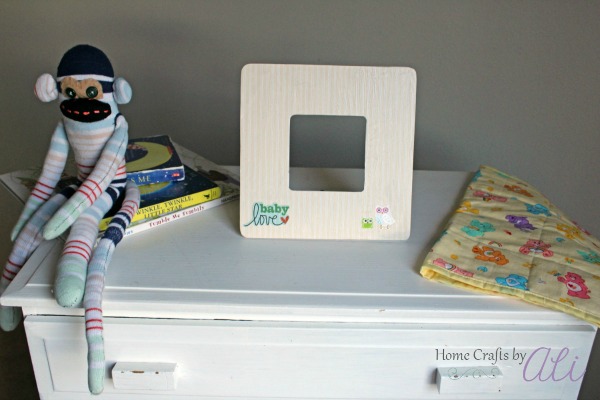
If you have wandered the aisles at your local craft store, I'm sure you have seen those unfinished wood frames. I just love those. You can decorate them in so many different ways that the possibilities are virtually endless. I bought one of the rounded corner square photo frames a few weeks ago and made this DIY decoupage photo frame for a baby shower gift for one of my blogging friends.
These decoupage frames are quite simple to make and are a nice way to display photos. Gather your supplies and within half an hour you will have a personalized photo frame.
*** This post contains affiliate links. I will receive a small portion from any sale in exchange for advertising products. ***
Supplies Used
Unfinished Wood Photo Frame - bought at Michael's for $1
Scrapbook Paper - color or style of choice
Pencil
Scissors
Stickers - to compliment your scrapbook paper
Paint - whatever color you want the edge to be
Mod Podge - gloss or matte finish
Foam Brush
Craft Mat - use to protect work surface
Sandpaper - optional
I use a foam brush to apply a thin layer of Mod Podge to my photo frame. Then I carefully place my piece of scrapbook paper onto the frame. I say carefully because you want to make sure to line the paper up straight the first time and also you want to make sure there aren't any air bubbles between the frame and the paper.
I get the scrapbook paper dry for about 8-10 minutes. I check to see if there is any paper overhanging the frame. If there is, I use sandpaper to lightly smooth out the edges.
Next I use the foam brush to apply a thin layer of Mod Podge to the top of the paper on the frame. That will seal it and give it a nice finish. Let dry for a few minutes.
Scrapbook Paper - color or style of choice
Pencil
Scissors
Stickers - to compliment your scrapbook paper
Paint - whatever color you want the edge to be
Mod Podge - gloss or matte finish
Foam Brush
Craft Mat - use to protect work surface
Sandpaper - optional
Instructions
The first thing I do when crafting it get out my Mod Podge silicone craft mat. I use it for most every project I work on so I don't get paint or glue on my desk. You can read more about it in the review I wrote here.
Paint a thin layer on the sides of your frame and the front. I do a quick coat on the front since it will be covered by paper, but make sure the the sides are evenly covered and look nice. Let dry.
Trace the frame onto the back side of your scrapbook paper. Cut out the paper using your scissors. I generally cut just a bit inside the pencil marks so it will fit correctly and I won't have to do much trimming or sanding.
I get the scrapbook paper dry for about 8-10 minutes. I check to see if there is any paper overhanging the frame. If there is, I use sandpaper to lightly smooth out the edges.
Next I use the foam brush to apply a thin layer of Mod Podge to the top of the paper on the frame. That will seal it and give it a nice finish. Let dry for a few minutes.
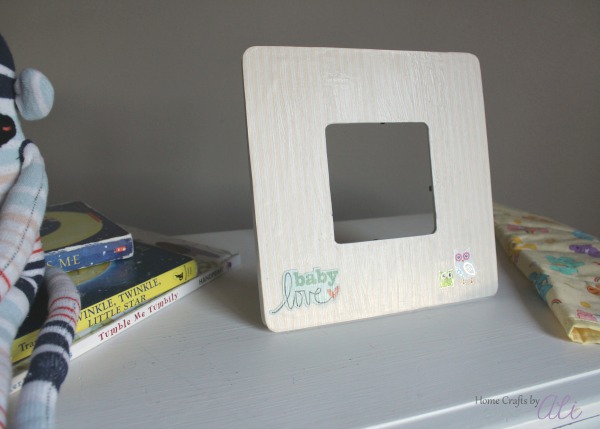
Pick out the stickers that you want to add to decorate your frame. I chose a phrase having to do with babies and a mama and baby of my favorite animal - owls. I placed them on my frame, then I was done.
That's it! Within about half an hour you have a cute decoupage and decorated wood frame perfect for a sweet baby's room
If you want to make your own, here are a few links to supplies you may need.
That's it! Within about half an hour you have a cute decoupage and decorated wood frame perfect for a sweet baby's room
If you want to make your own, here are a few links to supplies you may need.
As I said at the beginning of my post, I made this for a baby shower gift for one of my blogging friends, Erica from 5 Little Monsters. We are part of a small craft blogger group and a few of us decided to make her some baby gifts and send them to her as a virtual baby shower. It was fun to create this and I'm sending it in the mail this afternoon.
Want to take a look at the other items that were made for Erica? Here they are. Click on the links below the photograph to visit each tutorial so you can make your own!
Reversible Baby Shoes - Try It Like It
DIY Decoupage Wood Photo Frame - Home Crafts by Ali
Embellished Bib - 2 Dishing Divas
Pacifier Leash - Life Beyond the Kitchen
What is your favorite handmade baby gift you have been given?


What a cute frame. I think I'm going to use this idea for my kids to make their Father's Day gifts. Thanks!
ReplyDeleteWhat a cute frame! It looks easy enough that the kids could help out.
ReplyDelete